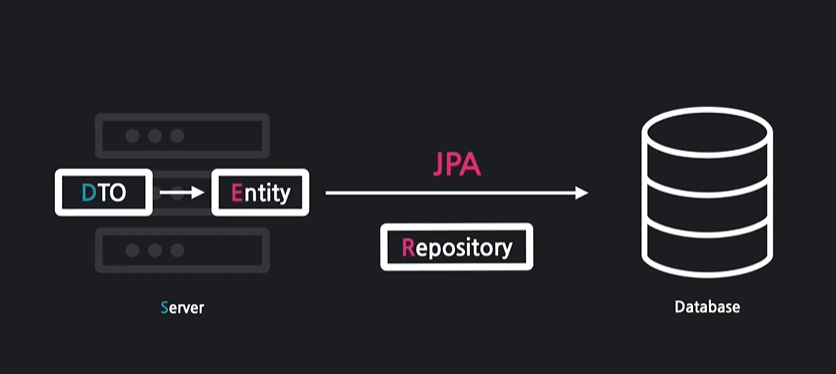
데이터베이스에 값 저장
DTO를 엔터티로 변환하고 저장소를 통해 DB에 저장합니다.
위의 과정을 직접 해보았습니다.
1. DTO를 엔티티로 변환
// 1. Dto를 Entity로 변환
Article article = form.toEntity();
System.out.println("Entity" + article.toString());
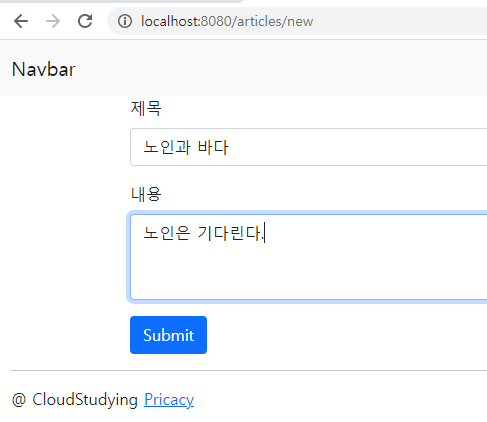
앞에서 만든 항목 양식 위에 Form이라는 DTO를 만들었습니다.
이 DTO를 Entity로 변환하기 위해 toEntity라는 메서드가 작성되었습니다.
public Article toEntity() {
    return new Article(null,title,content);
}
ArticleForm 클래스의 toEntity 메소드
기사에 제목 값과 내용 값을 전달한 후 기사를 반환합니다.
@Entity // DB가 해당 객체를 인식가능하게 한다.
public class Article {

    @Id // 대표값을 지정 주민등록번호와 같이.
    @GeneratedValue
    private Long id;

    @Column
    private String title;

    @Column
    private String content;

    public Article(Long id, String title, String content) {
        this.id = id;
        this.title = title;
        this.content = content;
    }
toEntity 때문에 제목 값과 내용 값이 저장되고 ID 값은 @GeneratedValue까지 1,2,3,4~~~ 순서로 저장된다.
Article article = form.toEntity();위 과정을 통해 DTO는 Entity로 변환되어 Article에 저장된다.
2. 저장소를 통해 엔티티를 DB에 저장합니다.
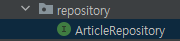
리포지토리 패키지를 만들고 여기에 ArticleReposity 인터페이스를 만듭니다.
public interface ArticleRepository extends CrudRepository<Article,Long> {
}
ArticleRepository는 Spring Boot에서 제공하는 CrueRepository를 통해 값을 저장합니다.
<> 엔터티는 첫 번째 인수에 전달되고 id 유형은 두 번째 인수에 전달됩니다.
@Controller
public class ArticleController {
    @Autowired //스프링 부트가 미리 생성해놓은 객체를 가져다가 자동 연결해줌
    private ArticleRepository articleRepository;
CrudRepository를 상속받은 ArticleRepository라는 인터페이스를 통해 articleRepository라는 객체가 생성되었습니다.
Article saved = articleRepository.save(article);
System.out.println(saved.toString());
Article saved = articleRepository.save(article);
articleRepository.save(article) 를 통해 DB에 저장되었습니다.
3. 결과

먼저 DTO가 저장된 것을 볼 수 있습니다.
둘째, DTO가 엔터티로 변환된 것을 확인할 수 있습니다.
셋째, 엔터티가 DB에 저장되고 ID 값이 1씩 증가하는 것을 볼 수 있습니다.